
Every weekend, I usually take my daughter to the rice fields on the city’s edge to breathe fresh air and watch the cows and buffaloes she normally only sees in picture books.
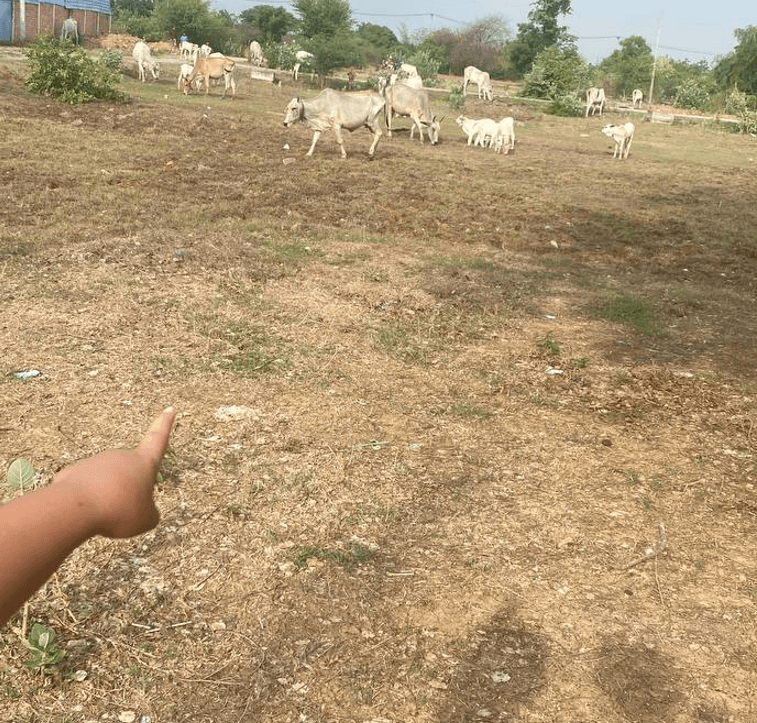
But here in Cambodia, once late April rolls around, the rainy season begins, and those trips come to a stop.
The rain arrives without warning.
Plans get cancelled.
And suddenly, we are all stuck inside.
When my daughter cannot go outside, something shifts in her.
She gets restless, fussy, and starts “reorganizing” the furniture in ways no one asked for.
And honestly, I do not blame her.
She is not being difficult.
She just has energy that has nowhere to go.
That is exactly how I started building a DIY indoor obstacle course for kids at home.
What began as a desperate attempt to survive a rainy Saturday turned into one of our favorite family rituals.
Within an hour, my daughter went from “Mom, I’m SO bored” to “Mom, I’m sweating — I’m going to try this again!”
(Got younger kids at home too? Check out my guide to 20 DIY Indoor Obstacle Courses for Toddlers and 3-Year-Olds!)
In this guide, I am sharing all 25 stations, organized by skill type, so you can select the ones that suit your space and your child’s needs. Everything here uses items you already own.
Key Takeaways
- A DIY indoor obstacle course for kids at home takes less than 15 minutes to set up using cushions, tape, chairs, and towels.
- The 25 stations in this guide are grouped by skill: crawling, jumping, balance, strength, speed, and cool-down.
- Physical indoor play helps 8-year-olds sleep better, focus longer, and feel calmer — especially on rainy days when outdoor time is not an option.
- You do not need to buy anything. Every station in this guide uses items already in your home.
- A cool-down section is included because ending the course properly matters just as much as starting it.
- Best for ages 6 to 10, with easy adjustments to make each station harder or easier depending on your child.
Why an Indoor Obstacle Course Works Better Than You Think
Before we get into the stations, it helps to understand why this works so well for kids around age 8, and why it beats most other rainy day activities for 8-year-olds indoors.
At this age, children need at least 60 minutes of physical movement per day.
When that does not happen, the body does not just get restless.
Sleep gets worse.
Attention drops.
Moods swing harder.
Physical play is not optional for energetic kids — it is actually how their nervous systems regulate themselves.
An obstacle course solves this in a specific way that free play or screen time does not.
It gives the movement a structure and a goal.
Suddenly, your child is not just running laps; she is a spy completing a mission.
She is not just jumping on cushions; she is trying to beat her own record.
That combination of physical effort and mental focus burns energy indoors far more effectively than any single activity.
It also builds real skills: core strength, coordination, balance, memory, and self-confidence.
The child who falls off the balance beam four times and then makes it on the fifth try is learning something that goes way beyond fitness.
How to Set Up Your Space (Using Things You Already Own)
You do not need a large space.
A living room, hallway, and one bedroom are more than enough.
Here is what to gather before you start:
- Sofa and bed cushions
- Masking tape or painter’s tape (does not damage floors)
- Blankets and towels
- Dining chairs
- Plastic cups
- Balloons
- Socks (for the skating station)
- A broomstick or long ruler
- Pillows and stuffed animals
- A stopwatch or phone timer
Set it up while your child is not watching.
Then, when she starts climbing the walls, you just announce: “The course is open.” That moment of surprise makes the whole thing feel like an event.
Part 1: Crawl and Climb Stations
These four stations target the whole body and are great for activating the brain.
Crawling, in particular, uses the opposite arm and leg at the same time, which genuinely supports brain development and builds serious core strength.
1. The Lava Floor Cushion Hop
Every 8-year-old has played “The Floor Is Lava” at some point, and for good reason — the game turns a simple balance challenge into an adventure.
Lay out bright blankets or towels flat on the floor to look like lava.
Then scatter cushions, folded towels, and small pillows across the “lava field.”
The goal is to hop from one island to the next without touching the floor.
Mom tip: Use a stopwatch and let her try to beat her own speed record.
Competing against herself is more motivating than competing against you.
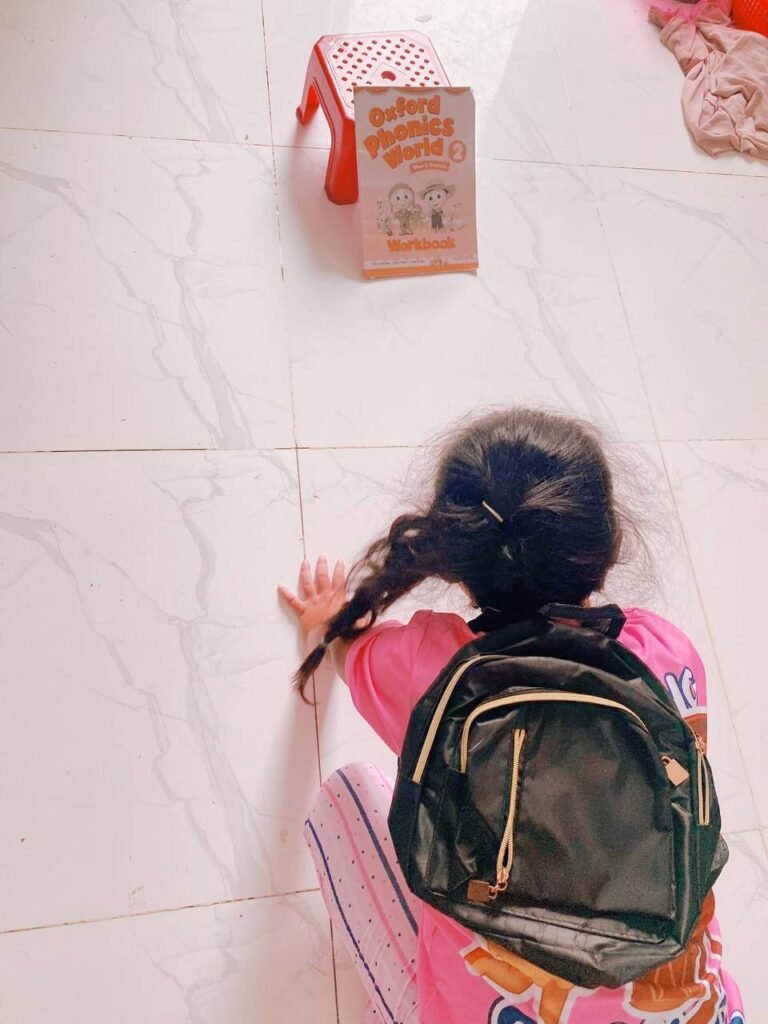
2. The Under-the-Table Tunnel Crawl
Push the chairs away from the dining table and hide a small “treasure” (we use a plastic piggy bank) at the far end.
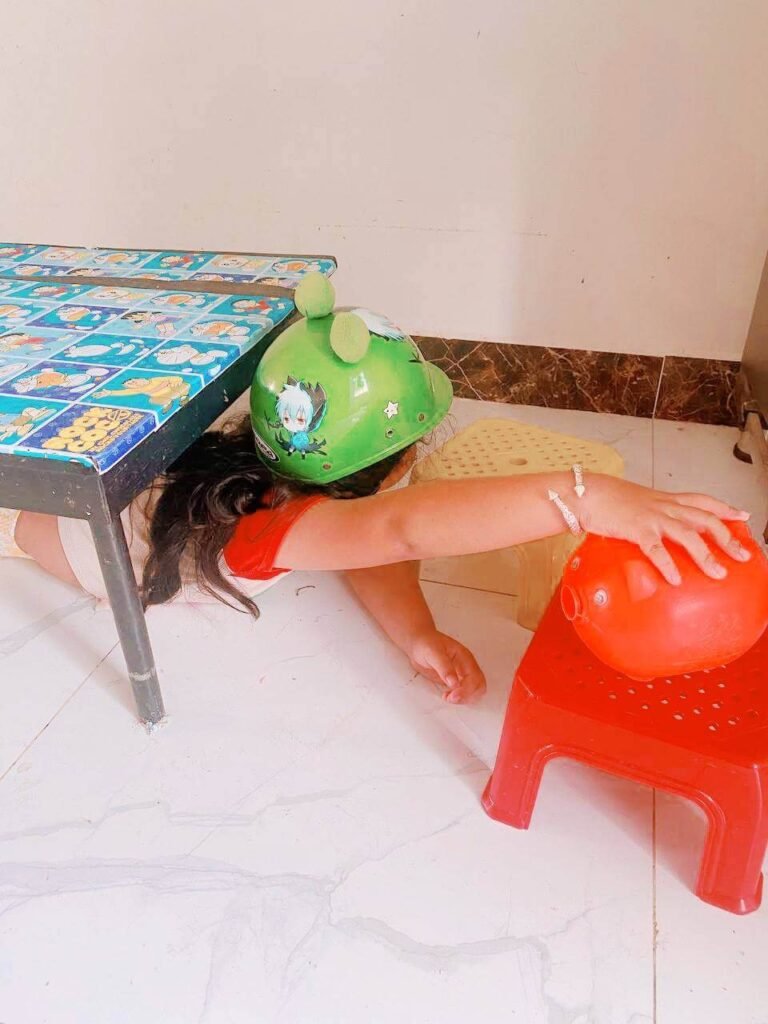
She has to crawl through the tunnel to retrieve it.
Safety note: If your table is wood or has a low clearance, have her wear a bicycle helmet for this one. We do.
3. The Blanket Commando Crawl
Lay a long blanket flat on the floor.
At the far end, set up a stuffed animal or sibling in a fun costume as the “rescue target.”
She has to crawl on her elbows and shoulders only — knees stay off the ground — to reach it.
Two rounds of this and she will be genuinely tired.
The shoulder and core engagement are intense.
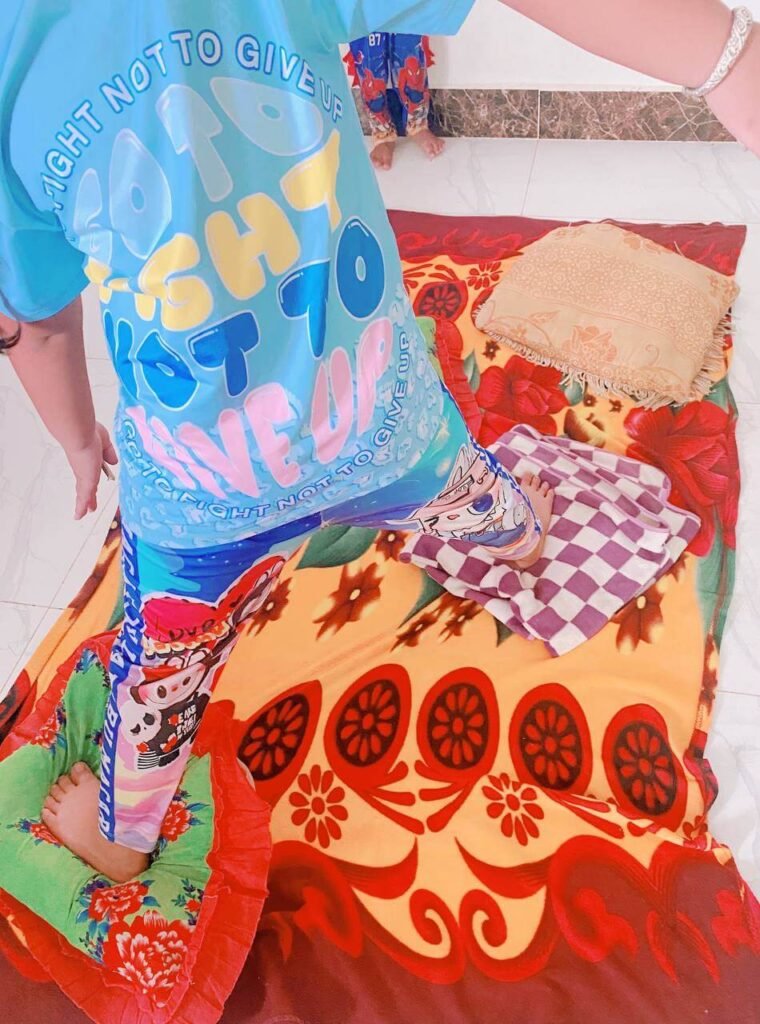
4. The Chair Limbo Slide
Place two chairs facing each other and lay a broomstick or long ruler across them as a limbo bar.
She has to shuffle under the bar without letting it fall and without touching the floor with her hands.
This one works the core and back muscles that kids rarely use.
My daughter fails it often, but she keeps trying.
After her fifth attempt one afternoon, she told me she was “soaking in sweat but not stopping.” That told me this station stays in the rotation.
Part 2: Jump and Hop Stations
These stations are the loudest part of the course.
They burn leg energy fast and improve coordination.
Great for releasing the kind of pent-up energy that builds on long rainy days.
5. The Hopscotch Gauntlet
Use masking tape to make a long, winding path of 15 to 20 squares across the floor.
But instead of a standard hopscotch layout, add “Brain Tasks” in specific squares: spin around in square seven, clap twice in square twelve, do five jumping jacks before entering square sixteen.
The combination of movement and memory keeps her completely locked in.
6. Paper Plate Stepping Stones
Place paper circles or plates on the floor at varying distances, like stepping stones across a river.
She has to land with both feet exactly on each plate.

If she misses, she goes back to the start.
Adjust the spacing based on her confidence.
Closer together for an easy round, farther apart for the challenge version.
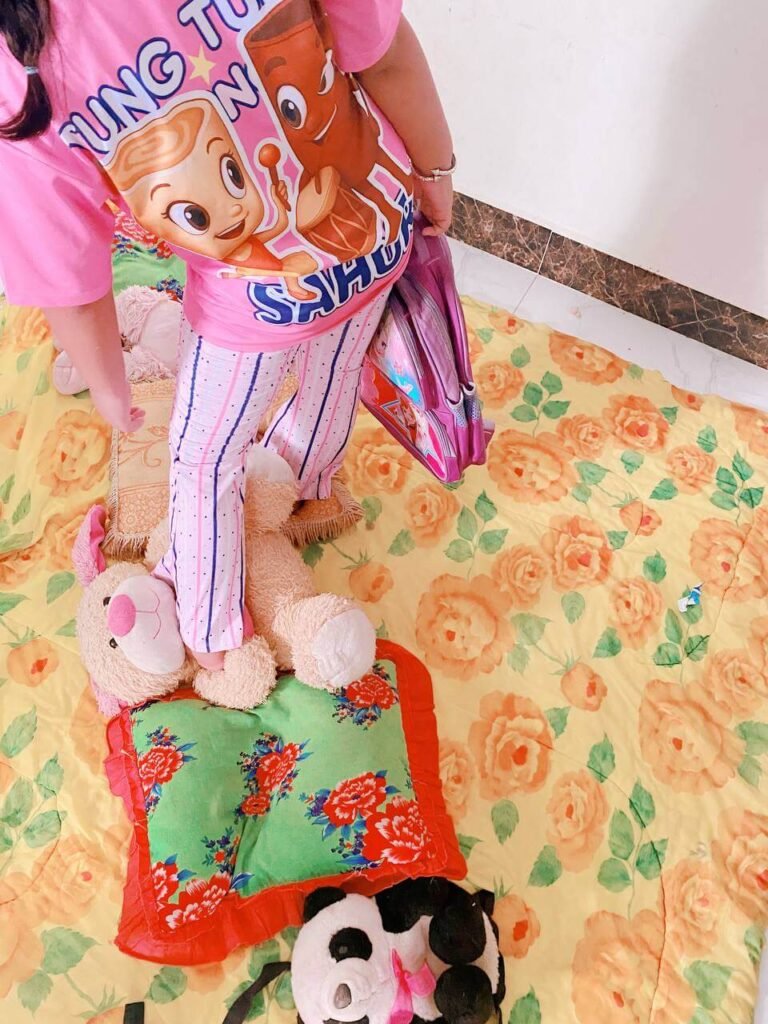
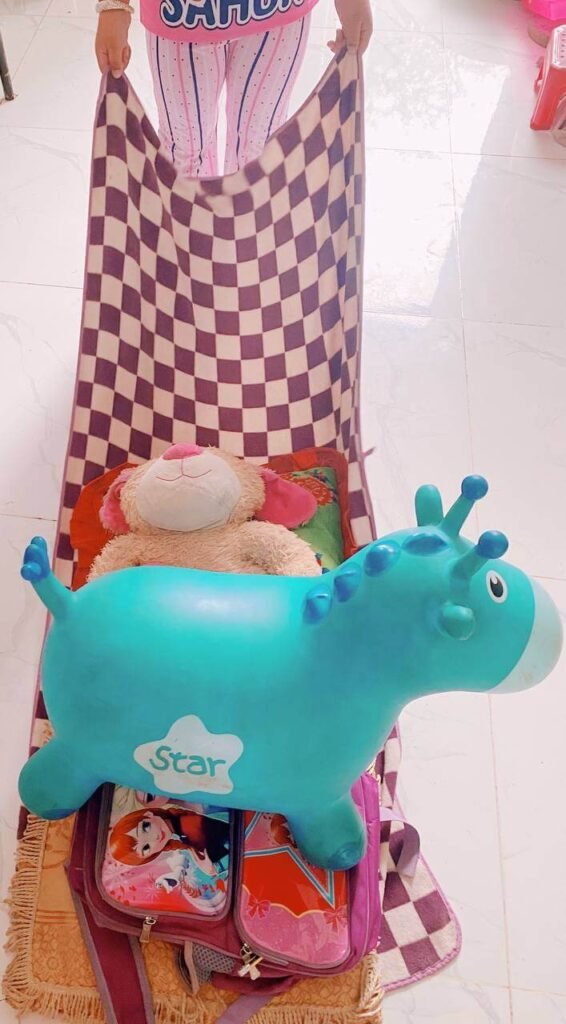
7. The Sofa Cushion Jump Pit
Stack cushions and stuffed animals into a pile.
Mark a starting line with tape.
She runs from the line and jumps into the center of the “pit.”
Scoring system: Three points for a center landing, one point for landing on the edge.
Keep a running tally on the fridge.
8. Balloon Volleyball Keep-Up
Tie a piece of string between two chairs as a net.
Inflate three balloons, and her job is to keep all three in the air at the same time without letting any of them touch the floor.
The rule: No popping allowed.
This one is deceptively exhausting.
Three balloons in the air at once requires full-body movement and sharp attention.
Part 3: Balance and Coordination Stations
These are the quiet stations, but do not underestimate them.
Balance work teaches patience and focus in a way that speed stations cannot.
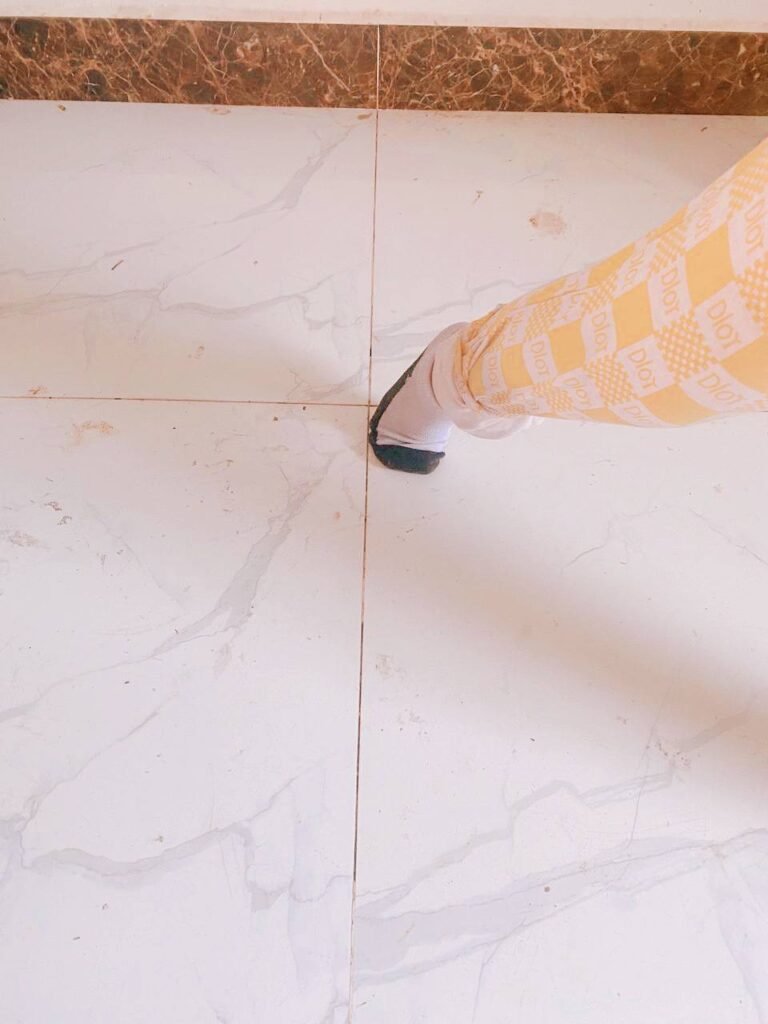
9. The Masking Tape Tightrope
Lay five meters of tape in a straight line on the floor.
She walks heel to toe from one end to the other without stepping off.
To increase the challenge: have her carry a small beanbag or folded cloth on her head while she walks.
10. The Book-on-Head Balance Beam
Line up small stools or cushions in a row as a raised path.
Place two thick books on her head.
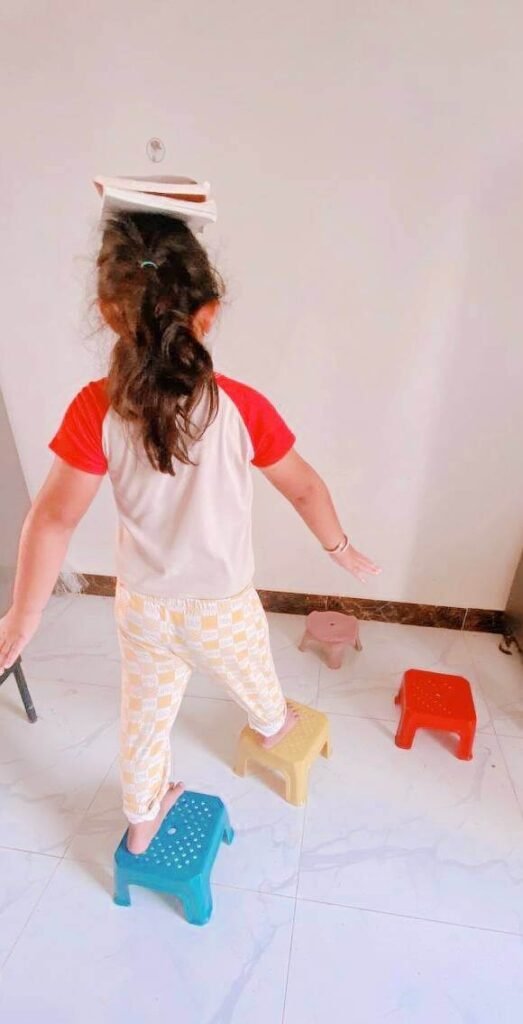
She has to walk the full path without dropping them.
The key rule is that she cannot rush.
If she speeds up, the books fall.
This is one of the most genuinely frustrating stations, but it is also the one she celebrates the loudest when she finally gets it right.
My daughter failed seven times in a row before completing the path on her eighth attempt.
Her brother and I cheered so loud that the neighbors probably heard us.
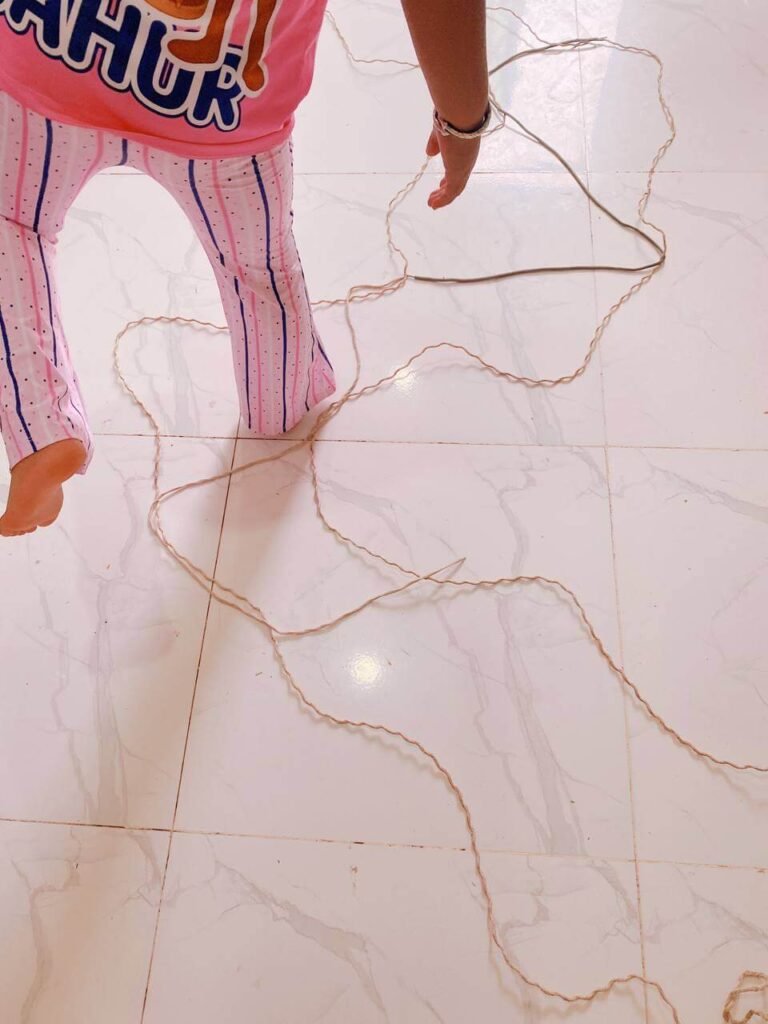
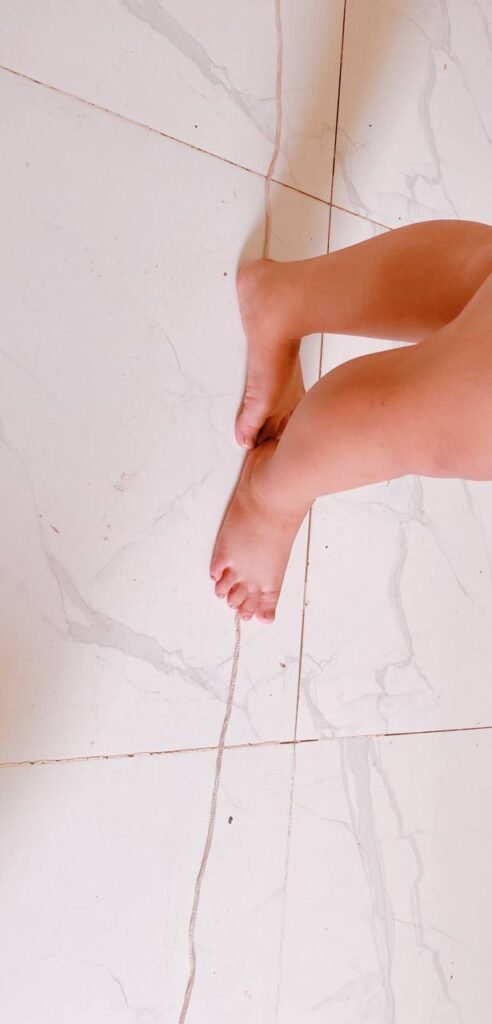
11. The Sock Skating Slalom
On smooth tile floors, set up plastic cups as cones in a zigzag line.
She puts on socks and “skates” through the cones in a weaving pattern, touching the wall at each end before coming back.
Safety note: She once asked to add a splash of water to the floor to make it feel like real ice.
I let her try it once with supervision.
It is fine in small amounts, but watch for hard falls.
12. The Pillow Balance Walk
Line up pillows, rolled towels, and stuffed animals in a row across the floor.
She has to walk the full length of the path without her feet touching the actual floor.
The uneven, unstable surface forces her to constantly adjust her balance, which engages the small stabilizing muscles in her ankles and core.
Part 4: Strength and Core Stations
These four stations are where the real physical work happens.
They are great for gross motor development in 8-year-olds and will help your child sleep very well.
13. The Bear Crawl Sprint
Have her put on a small backpack (empty or with one light book inside).
Place her favorite book or a small toy at the finish line.
She crawls on hands and feet only (knees must stay raised off the floor) all the way to retrieve it.
Bear crawls build full-body strength fast.
Two or three lengths of the hallway are enough.
14. The Laundry Basket Delivery
Fill a laundry basket with a few books to give it some weight.
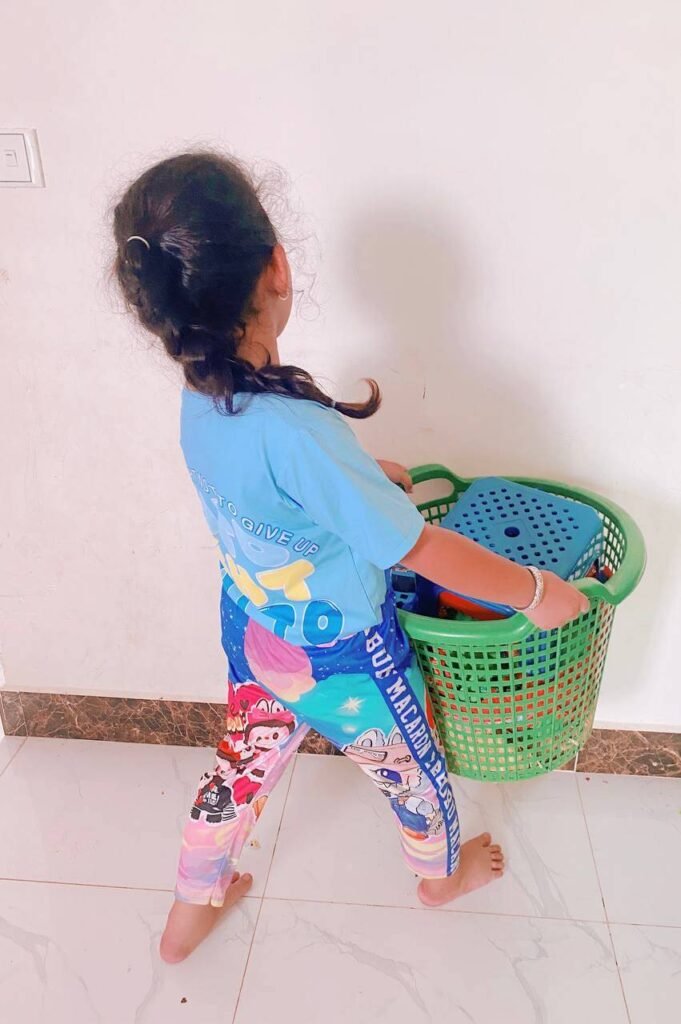
She has to carry it at a jog from one side of the room to the other, set it down, and run back empty-handed.
Repeat for a set number of “deliveries.”
You can increase the weight slightly as she gets stronger over the weeks.
15. The Wall Sit Challenge
Back against the wall, knees bent at 90 degrees, feet flat on the floor — the invisible chair position.
She holds the sit for as long as she can.
Record her time and write it on a sticky note on the fridge.
Tomorrow, she will want to beat it.
This one is simple, free, and surprisingly effective for building leg endurance.
16. The Towel Tug Drag
Place a heavy stuffed animal or a pile of pillows on a large towel.
She grips the edge of the towel and pulls the whole “cargo” across the hallway from one end to the other.
This is a full-body movement that targets arms, shoulders, back, and legs all at once.
It is one of the best strength activities for kids indoors because it mimics real functional movement.
Part 5: Agility and Speed Stations
After the strength work, these stations bring the energy back up.
They are fast, competitive, and very satisfying when done well.
17. The Cup Stack and Unstack Race
Set up ten plastic cups at a station.
She runs to the station, stacks them into a pyramid, sprints to the far wall and back, then unstacks them completely.
Time her with a stopwatch and let her try to set a personal record.
18. The Hallway Shuttle Run
Put an “X” mark made of tape at both ends of the hallway.
She runs to touch one X, turns and sprints to touch the other, and repeats this ten times as fast as she can.
This is one of the best ways to burn energy indoors because it pushes cardiovascular effort quickly without needing a large space.
19. The Sock Ball Target Toss
Roll five to eight pairs of socks into tight balls.
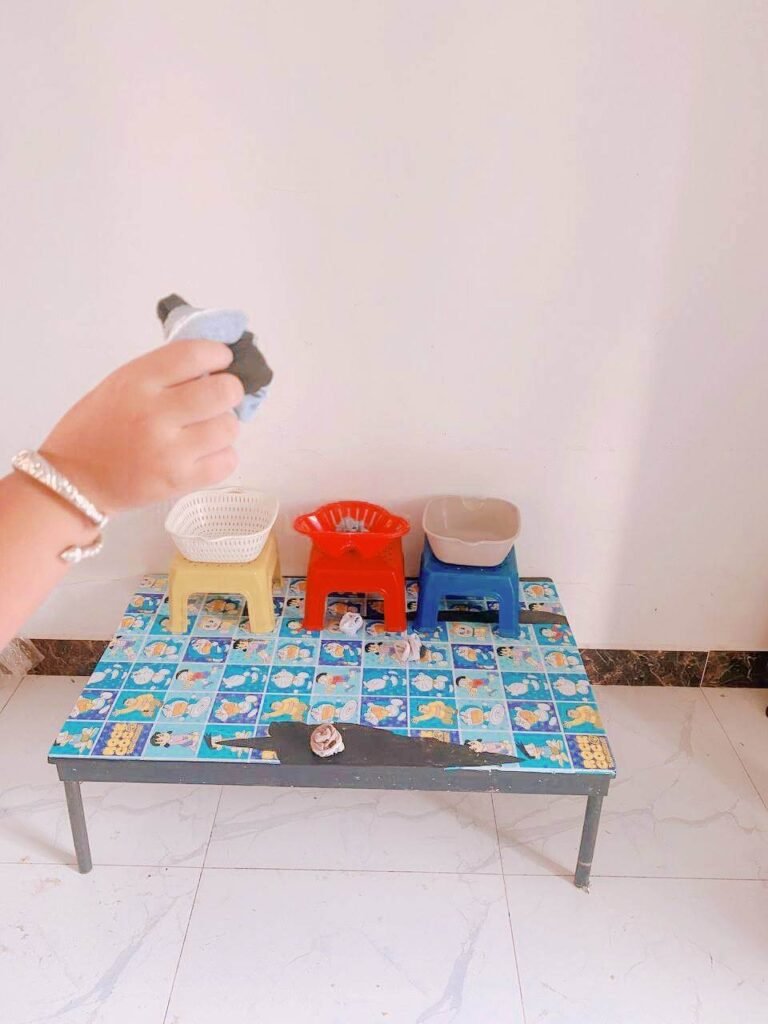
Set up three baskets or buckets at different distances from a throwing line, each labeled with a point value.
She runs to the line and throws.
Point values: White basket (far) = three points, Grey basket (medium) = two points, Red basket (close) = one point.
Keep a running score.
Losing a round because most of the throws missed is part of the fun and a genuine reason to play again.
20. The Obstacle Memory Run
Set up five stations around the room.
Tell her the correct order of the stations out loud — just once.
She has to complete the whole course in the right sequence from memory.
If she does a station out of order, she goes back to the start.
This one is my personal favorite because it trains the brain and the body at the same time.
For kids who need screen-free activities that also sharpen focus, this is it.
Part 6: The Cool-Down Stations (Do Not Skip These)
Stopping abruptly after intense physical activity is hard on the body and often leads to grumpiness, not calmness.
These five stations help her wind down gradually and end the session feeling proud and settled.
21. Slow Motion Replay
Pick three of her favorite stations from the course.
She has to repeat them in complete slow motion.
Every single movement must take at least ten seconds.
This forces deep breathing and gradually lowers the heart rate.
22. Yoga Pose Finish Line
To officially “win” the course, she must hold five yoga poses — Tree, Butterfly, Warrior, Child’s Pose, and her choice of a fifth — and take ten slow, deep breaths between each one.
This is a gentle, non-negotiable way to bring the body back to calm.
23. Build Your Own Round
Give her five minutes to design one new station.
Then you have to attempt it while she acts as the coach, giving instructions and feedback.
She will feel incredibly proud.
And watching you struggle through her obstacle is often the funniest moment of the whole session.
24. The Feelings Check-In
Sit together on the floor and ask: “Which station was your favorite today?” Listen without interruption.
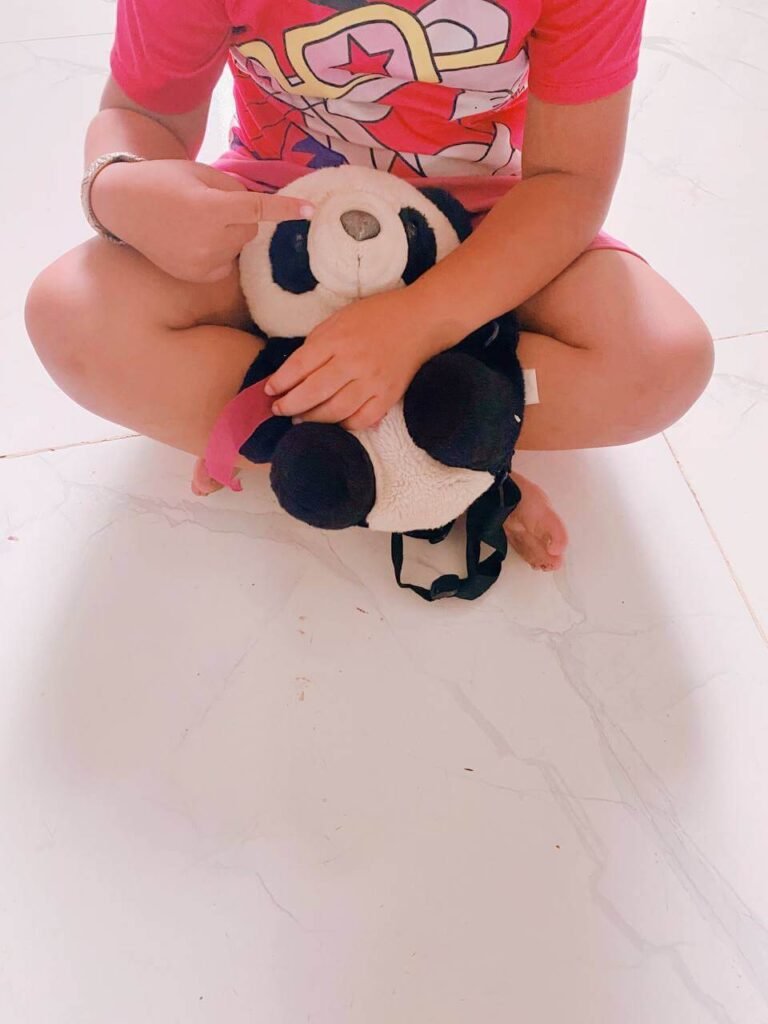
This is not just a nice-to-have.
After a high-energy session, verbal processing helps children organize their experience and come down emotionally.
My daughter sometimes does not answer with words.
One afternoon, she just hugged her teddy bear and pointed at the Bear Crawl station. That said enough.
25. The Course Map Drawing
Hand her a notebook and give her five minutes to draw a map of the course you played.
It does not matter if it looks like a mess of lines to you.
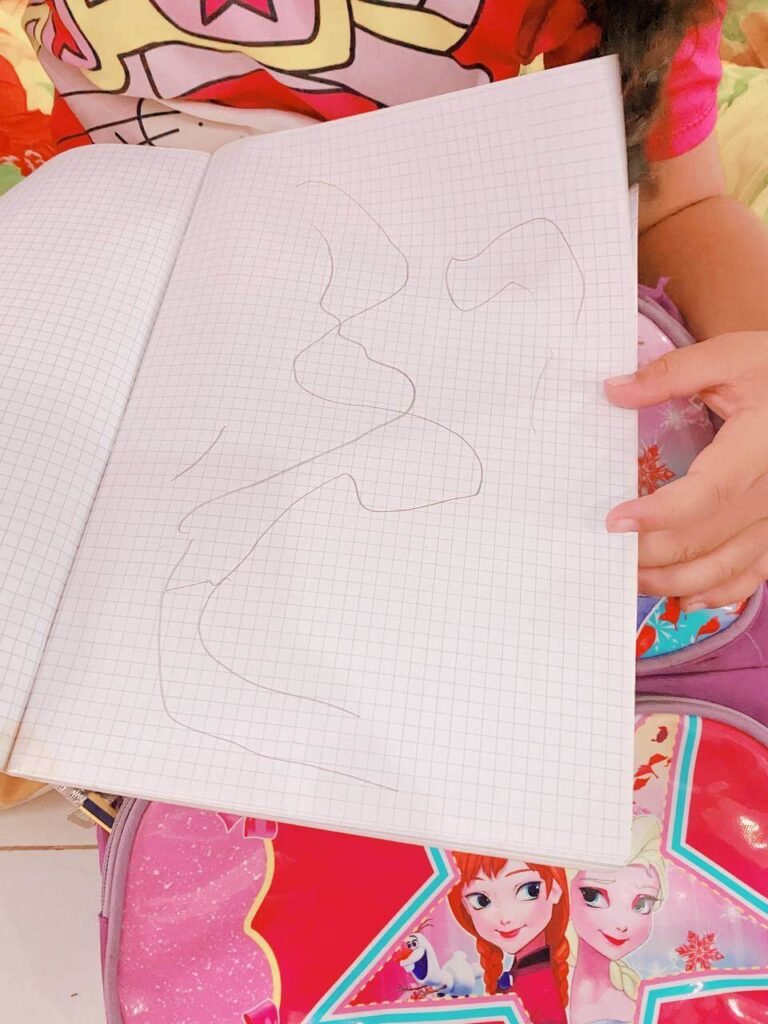
She knows exactly where the Hopscotch Gauntlet is and which direction the Sock Skate Slalom runs.
This ends the session with a creative, calm, fine-motor activity and gives her something to look back at the next time she wants to play.
One Setup Tip That Changes Everything
Try to build the course before your child gets home or early on a weekend morning while she is still in bed.
If she helps set it up, she will spend most of the energy on the setup itself, which defeats part of the purpose.
When she starts getting restless and the energy in the room shifts, just say: “The course is open.”
Watch what happens next.
Conclusion
A DIY indoor obstacle course for kids at home does not need to be elaborate, expensive, or Pinterest-perfect to work.
It just needs to give your child’s body something purposeful to do.
The cushions you already own, the tape in your drawer, the chairs around your dining table — that is enough.
Add a stopwatch, a bit of imagination, and a willingness to cheer loudly when she makes it across the tightrope on attempt number six, and you have everything you need.
On the next rainy afternoon, when the restlessness starts, try it.
The goal is not a perfect course.
The goal is a sweaty, laughing, tired child who sleeps well and wakes up asking when the course opens again.
Frequently Asked Questions
Do I need to buy a specific kit or equipment to make this work?
The best course is one built from items you already own. Cushions for jumping and hopping, masking tape for balance beams and hopscotch, chairs and broomsticks for limbo, and towels for crawling stations.
The 25 stations in this guide cover every skill group, so even just picking five or six gives you a complete activity session.
How do I stop my living room from looking like a disaster zone afterward?
Start by choosing a path through your home, usually from the living room through the hallway and back. Assign each area a different type of station: a crawling zone, a jumping zone, a balance zone, and a speed zone. Use tape on the floor as your main tool for marking start lines, paths, and targets. Build from what you have rather than buying anything new.
How do I keep my hyper 8-year-old entertained indoors without screens?
Physical activity that has a goal works far better than open-ended play for high-energy kids. An indoor obstacle course gives the energy somewhere to go and gives the child something to measure and improve. The memory run, the wall sit challenge, and the balance beam are especially good for tiring out a child who is restless without overstimulating her further.
How long does an indoor obstacle course session take?
Setup takes about 10 to 15 minutes. A full run through all 25 stations takes 45 to 60 minutes. You do not have to do all 25 in one session. A set of eight to ten stations with a proper cool-down is a complete workout.
What are good rainy day activities for 8-year-olds that are also educational?
The Obstacle Memory Run trains sequential thinking and working memory. The Book-on-Head Balance Beam builds patience and proprioception. The Course Map Drawing at the end develops spatial reasoning and fine motor skills. Any of the stations can become educational with a small twist, such as adding math problems to the hopscotch squares or spelling challenges before each jump.
Is it safe to do an indoor obstacle course at home?
Yes, when set up thoughtfully. Use cushions and pillows to pad hard surfaces. Keep masking tape edges flat so they do not become a tripping hazard. For stations near low furniture, have your child wear a helmet. Supervise any station that involves slippery surfaces. None of the stations in this guide require jumping from elevated heights.
How do I get my child to actually calm down after playing?
The cool-down section of this guide (stations 21 through 25) was added specifically for this reason. Slow Motion Replay, yoga poses, and the Feelings Check-In are all designed to bring the nervous system back to a settled state. Skipping the cool-down often means the energy that was burned comes back quickly as irritability.
Disclaimer: The content on Sprout Upward is designed to encourage intentional family leadership. I am a mom of two and a former youth worker sharing my real-life experiences, not a licensed therapist or medical professional. These guides adapt my professional team management background to daily home life. Please consult your pediatrician for any clinical, medical, or psychological advice regarding your child.